How to Organize Jewelry
If your jewelry collection is growing, you may notice that things are getting a little tangled and messy. Knowing how to organize your jewelry can help with both storage and prolonging the “lifespan” of your jewelry. There are a number of great ways to organize your jewelry that is both easy and effortless. We’ll run through some of the simplest and most creative ways to store jewelry so you can get things organized and ready to wear.
How to Store Jewelry Easily and Efficiently
- Create a DIY Jewelry Holder
This option is perfect for the creative crafters. You’ll need some cork board, push pins, and colorful paper. To complete your own DIY jewelry holder, follow these easy steps:
o Mount the Board: Find a space in your room and mount the cork board to the wall. You want to make sure you find a spot where there is plenty of space beneath the board.
o Apply the Pushpins: Once your board is decorated and mounted in the right place, you can add the push pins. Be sure to space the pins out so that when you add the jewelry things won’t run into each other or get tangled. You can add the pins in a pattern, keep them straight and long, or go freestyle.
o Hang Your Jewelry: Once the push pins are in place, you can hang your jewelry from them. This method is perfect for necklaces, bracelets, and even your rings. To ensure that they are secure, bend the end of the pushpin so that they stand like a hook on the wall. If you like, you can stick your earrings directly to the cork to keep them safe—just make sure the backs of the earrings are kept in a safe place nearby.
- Get a Jewelry Box
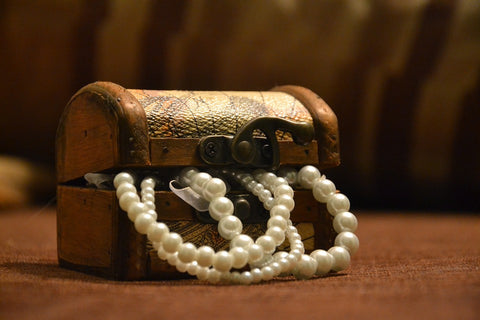
You can never go wrong with a classic jewelry box. This option is perfect for extra precious jewelry that needs to be kept safe and secure at all times. Think of storing your wedding ring, your favorite necklace or bracelet, or even those diamond earrings you got for your birthday. You can find a jewelry box at almost any store, but the best ones will cost you a little extra. These often include various compartments, drawers, mirrors, cushions and more.
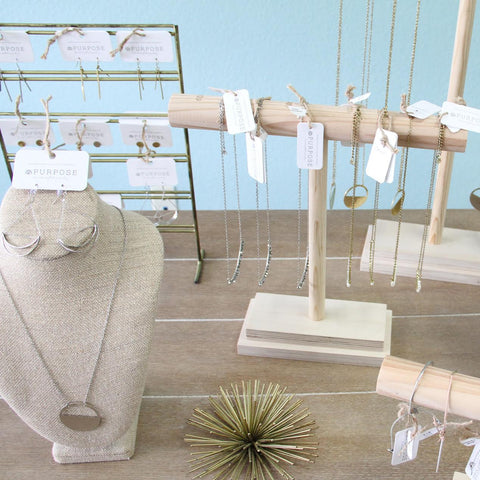
- Purchase or Make a Jewelry Tree
While a jewelry box is a great idea, they usually cannot hold your necklaces and bracelets without getting them miserably tangled. With this in mind, a jewelry tree is a worthy investment of your time and money. You can buy one at your local craft store, clothing boutique, or even at Target as well as the materials to make one as well. Jewelry trees have various arms of differing lengths so that you can hang jewelry of different lengths and keep them long, straight, and untangled. Jewelry trees can even hold your rings, hoop earrings, and any other dangly pieces of jewelry. To make your own, you’ll need a sturdy vase or bottle with a slender neck, long sticks, thin branches, or twigs, and a glue gun. To create your tree, follow these steps:
o Take your sticks, twigs, and/or thin branches and wash them well. Simply running through some warm water and wiping them down with a clean towel should be enough. You don’t want any dirt or bugs from the outside introduced into your home on the twigs - be careful!
o Smooth out the edges of your twigs, sticks, and branches by trimming them with a strong pair of scissors or sanding them down with a nail file. Be sure that the twigs, branches, and sticks are different lengths, like a natural tree, otherwise, your jewelry tree won’t be as efficient!
o Take your glue gun and apply a dollop of glue to the end of the sticks, twigs, and branches. Lower them into the bottle or vase and secure them to the bottom. This will ensure that they stay secure when the jewelry is added.
o Let the glue dry for thirty minutes to an hour to be on the safe side.
o Once the glue is dry and the twigs are secure, you can begin adding your jewelry. Place necklaces on taller branches so that they have more length to hang from. Rings and bracelets can hang from shorter branches as they need less space.
o You’re done!
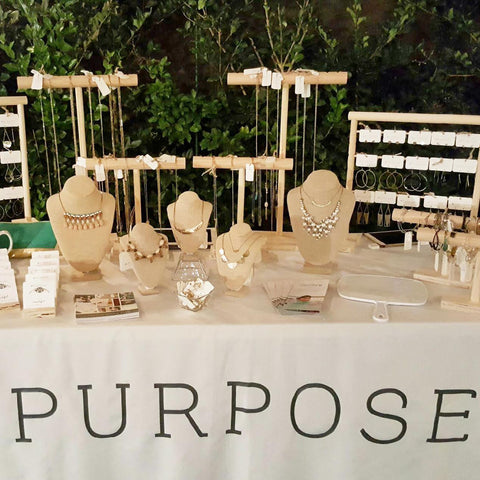
This is how we like to organize and showcase our jewelry collection at trunk shows and events!
Now that you know how to organize your jewelry, you can do it in so many different ways. DIY project and store-bought products are equally effective, so do what feels best. In the end, you can wear your nicely organized and detangled jewelry without worrying about tangles, knots, and other headaches.